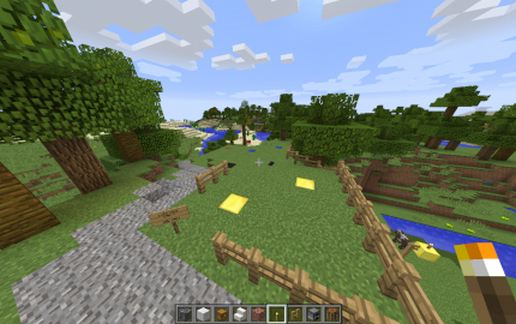
18 Hole Golf Course
Published on January 1, 2023
By ronman101
👁️🗨️ 196
52
★
★
★
★
★
Rate it
Screenshots
Description
READY FOR SOME GOLF??? You will need a lot of land space for this!
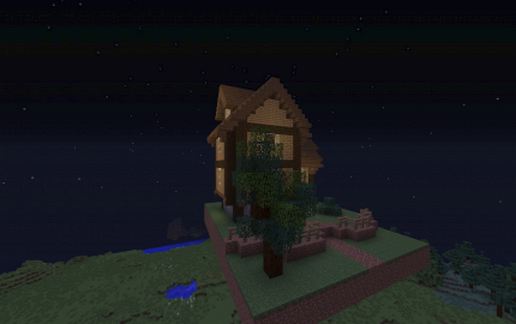
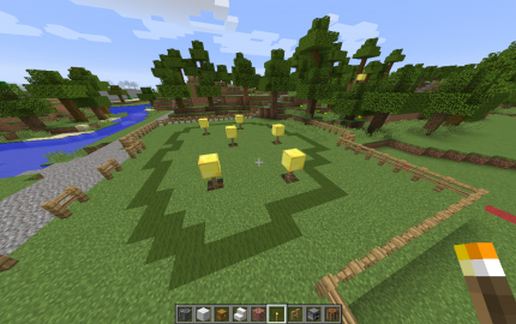
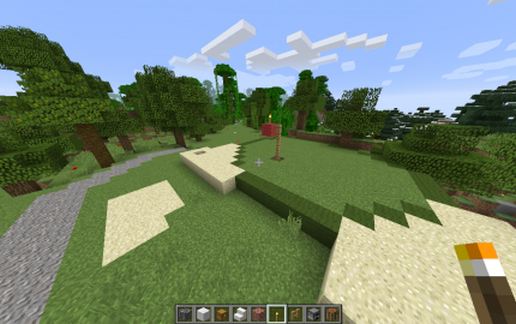
This Hugh 18-Hole, Par 72, 7,195 yard Golf Course covers a lot of square miles. I have included all the surround area. Trees, Bushes, Hazzards (Water, Sand, Ruff). Each hole in mark with hole number, yardage, and par. Championship Gold Tees, Men's Black and Blue Tee's, Women Red Tee's. Fairway Yardage markers Blue 200, White 150, and Red 100yrds. Plenty of Lakes and rivers to cross. Run though, Jungle areas, sand areas, and greenery areas. Cart paths line with stone (90 degree only and stay on cart path for par 3's). Comes with a Club house that has a Fireplace, a Concession stand, and counter to pay green fees. Area underneath, room for Carts. Upstairs seating and bathroom area. Entry across from Train station (station not included, but the stairs down is).
Outside Putting Green (No Chipping) and Access to front (1st tee) or Back (10 Tee)
Golf Card: Front 9: 1st Par 4-475, 2nd Par 4- 429, 3rd Par 5-587, 4th Par 5-527, 6th Par 4-398, 7th Par 4-398, 8th Par 4-401, 9th Par 3-187. Back 9: 10th Par 3-198, 11th Par 4-392, 12th Par 4-387, 13th Par 3-205, 14th Par 4-466, 15th Par 4 436, 16th Par 4-378, 17th Par 5-577, 18th Par 5-595.
Yes, I had too much time on my hands to build, but it was fun making it a reality. The pathway for the Club House sits at 68, which should match the water areas (Rivers) up with common minecraft level.
This Hugh 18-Hole, Par 72, 7,195 yard Golf Course covers a lot of square miles. I have included all the surround area. Trees, Bushes, Hazzards (Water, Sand, Ruff). Each hole in mark with hole number, yardage, and par. Championship Gold Tees, Men's Black and Blue Tee's, Women Red Tee's. Fairway Yardage markers Blue 200, White 150, and Red 100yrds. Plenty of Lakes and rivers to cross. Run though, Jungle areas, sand areas, and greenery areas. Cart paths line with stone (90 degree only and stay on cart path for par 3's). Comes with a Club house that has a Fireplace, a Concession stand, and counter to pay green fees. Area underneath, room for Carts. Upstairs seating and bathroom area. Entry across from Train station (station not included, but the stairs down is).
Outside Putting Green (No Chipping) and Access to front (1st tee) or Back (10 Tee)
Golf Card: Front 9: 1st Par 4-475, 2nd Par 4- 429, 3rd Par 5-587, 4th Par 5-527, 6th Par 4-398, 7th Par 4-398, 8th Par 4-401, 9th Par 3-187. Back 9: 10th Par 3-198, 11th Par 4-392, 12th Par 4-387, 13th Par 3-205, 14th Par 4-466, 15th Par 4 436, 16th Par 4-378, 17th Par 5-577, 18th Par 5-595.
Yes, I had too much time on my hands to build, but it was fun making it a reality. The pathway for the Club House sits at 68, which should match the water areas (Rivers) up with common minecraft level.
Download: 18 Hole Golf Course schematic for Minecraft
| Format | Size | Use with | |
|---|---|---|---|
.litematic 18-hole-golf-course.litematic |
646.16 KB | Litematica (Java) — more Litematica schematics |
|
.schem 18-hole-golf-course.schem |
476.23 KB | WorldEdit / FAWE |
|
.schematic 18-hole-golf-course.schematic |
571.65 KB | Legacy / online installer |
|
| Install this build directly on your Minecraft map |
|
||
Auto-converted from the original format; container contents (chests, signs) may be missing.
📘 How to use with Litematica (click to expand)
- Put the downloaded
.litematicfile into the.minecraft/schematics/folder. - In game, press M to open the Litematica menu and choose Load Schematics.
- Select the file in the list and click Load Schematic.
- Position the placement where you want it and build — or paste it instantly in creative with Easy Place mode.
Requires the Litematica mod (Java Edition).
More builds: Litematica schematics.
Comments
Similar